We all love taking pictures but more often than not, they don’t come out as nice as we would like. Composition, framing and lighting are all part of making a great photo (and we will cover those in future posts) but once you have taken a photo there are a number of easy things you can do to make it even better.
Here are some common problems and solutions using standard features found in photo enhance tools (specifically, ones found in Locket).
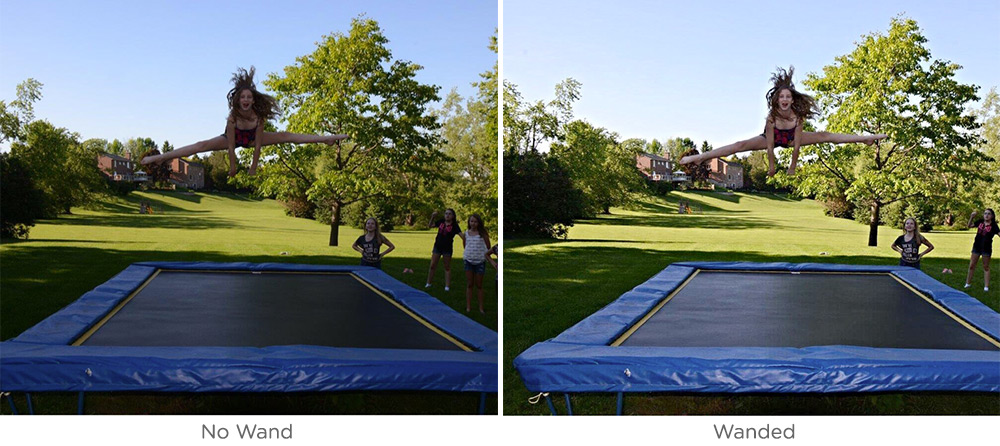
1. Enhance – the Magic Wand
This is a general all over photo fix that will make the picture “crisper” and try to balance what is already there. It is rare that this effect will make a picture worse, so it is often worth a try to see if you like what the algorithm does. I recommend that everyone try it. In Locket this correction is called Hi-Def and is under the “Enhance” option. For portraits (mostly faces) there is a “Portrait” setting that brings out skin tones better and will soften shiny noses and foreheads. Finally, if a photo is taken in low light the “Night” setting will brighten the entire photo. This is similar to adjusting the brightness. While the Night setting rarely makes a bad photo great it can make an unusable photo quite usable. And action shot can also be brought better to light with the Magic Wand.
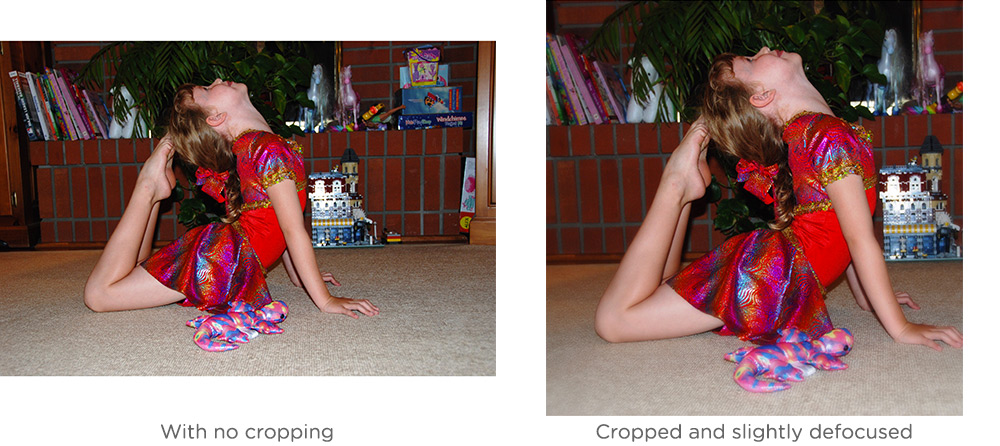
2. Cropping – Focus on What is Important
If you can pinch and zoom you can crop. Every photo you take can most likely use some cropping. How much should you crop? Here is a test. Look at a photo and make a note of where your eyes go. If your eyes wander to someplace that is not really the subject or about the subject then crop it out if you can. Even scenery shots can use some cropping. In the example below a lot of the clutter of the room has been removed. The child is the star.
3. Crooked Background – Subtle but Annoying
Crooked backgrounds are really easy to take. I’ve got a catalog full of photos with crooked backgrounds as I am usually so focused on capturing the subject properly that the camera ends up being held at an angle. Crooked backgrounds are very noticeable in photos with horizontal lines (horizons or siding on a house) behind the subject. Fortunately there is an easy way to fix this. Found in the Orientation section, there is a slider at the bottom of the photo, which will allow you to use a side to side motion to straighten the tilt. Simply straightening the background can turn a great photo into an amazing photo.
4. Sharpness – Look How Steady I Can Hold a Camera
We will go into tips about how to take a steady shot in another post, however even with the best technical circumstances, some shots still have a slight blur. Use the sharpness option to reduce the blur. Go gently with adding sharpness because too much can make faces look harsh. There are few photos that are not enhanced with a touch of sharpness. In the example shown, a blurry camera phone shot is slightly corrected to create a better picture.

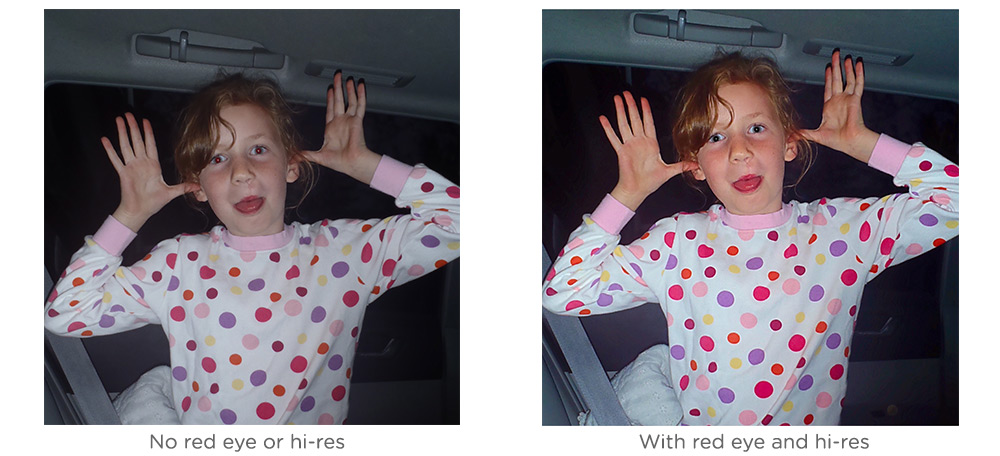
5. Red Eye – Do it Right Away
Red eye is caused by light reflecting off the back of an eye from the flash. It happens when the flash and the camera lens are close together. This situation perfectly describes a camera phone, so red eye is very common when using a flash on a camera phone. Luckily it is super easy to fix. Click on the red eye menu item and then select the size of the circle that roughly corresponds to the size of the eye affected with red eye. Drag the circle over the eye and presto! In my experience, red eye is best fixed right at the time the photo is taken or it tends to stay that way forever.
In this example I corrected the red eye and added some magic wand to enhance a fun photo.
In a future post we will talk about more advanced techniques you can use in Locket to bring out the best in a photo but for now, these simple five fixes can turn any snapshot into a gem of a photo.